
Detailed Disassembly - 1911 / 2011
Clean weapons function better

Recently, I did something I was nervous about doing. I did a detailed disassembly on the bottom half of my competition 2011 and on my Kimber 1911. It needed doing. I have fired several thousand rounds through each of the pistols. I routinely detail strip and clean the slide including the firing pin and extractor. Cleaning the lower half has been limited to wiping it out.
I was nervous for good reason. The nervousness started when Sig-Sauer informed me via the warranty information on my Sig 1911 that disassembling the bottom half would invalidate the lifetime warranty. I was nervous because I know that there are pieces that can go “sproing” and disappear forever during disassembly. I was nervous because I’m a commo guy (18E) rather than a weapons man (18B).
To my slight surprise, it was less challenging than I feared. There were a couple of complications and some springs did indeed go “sproing” but I found them, eventually.
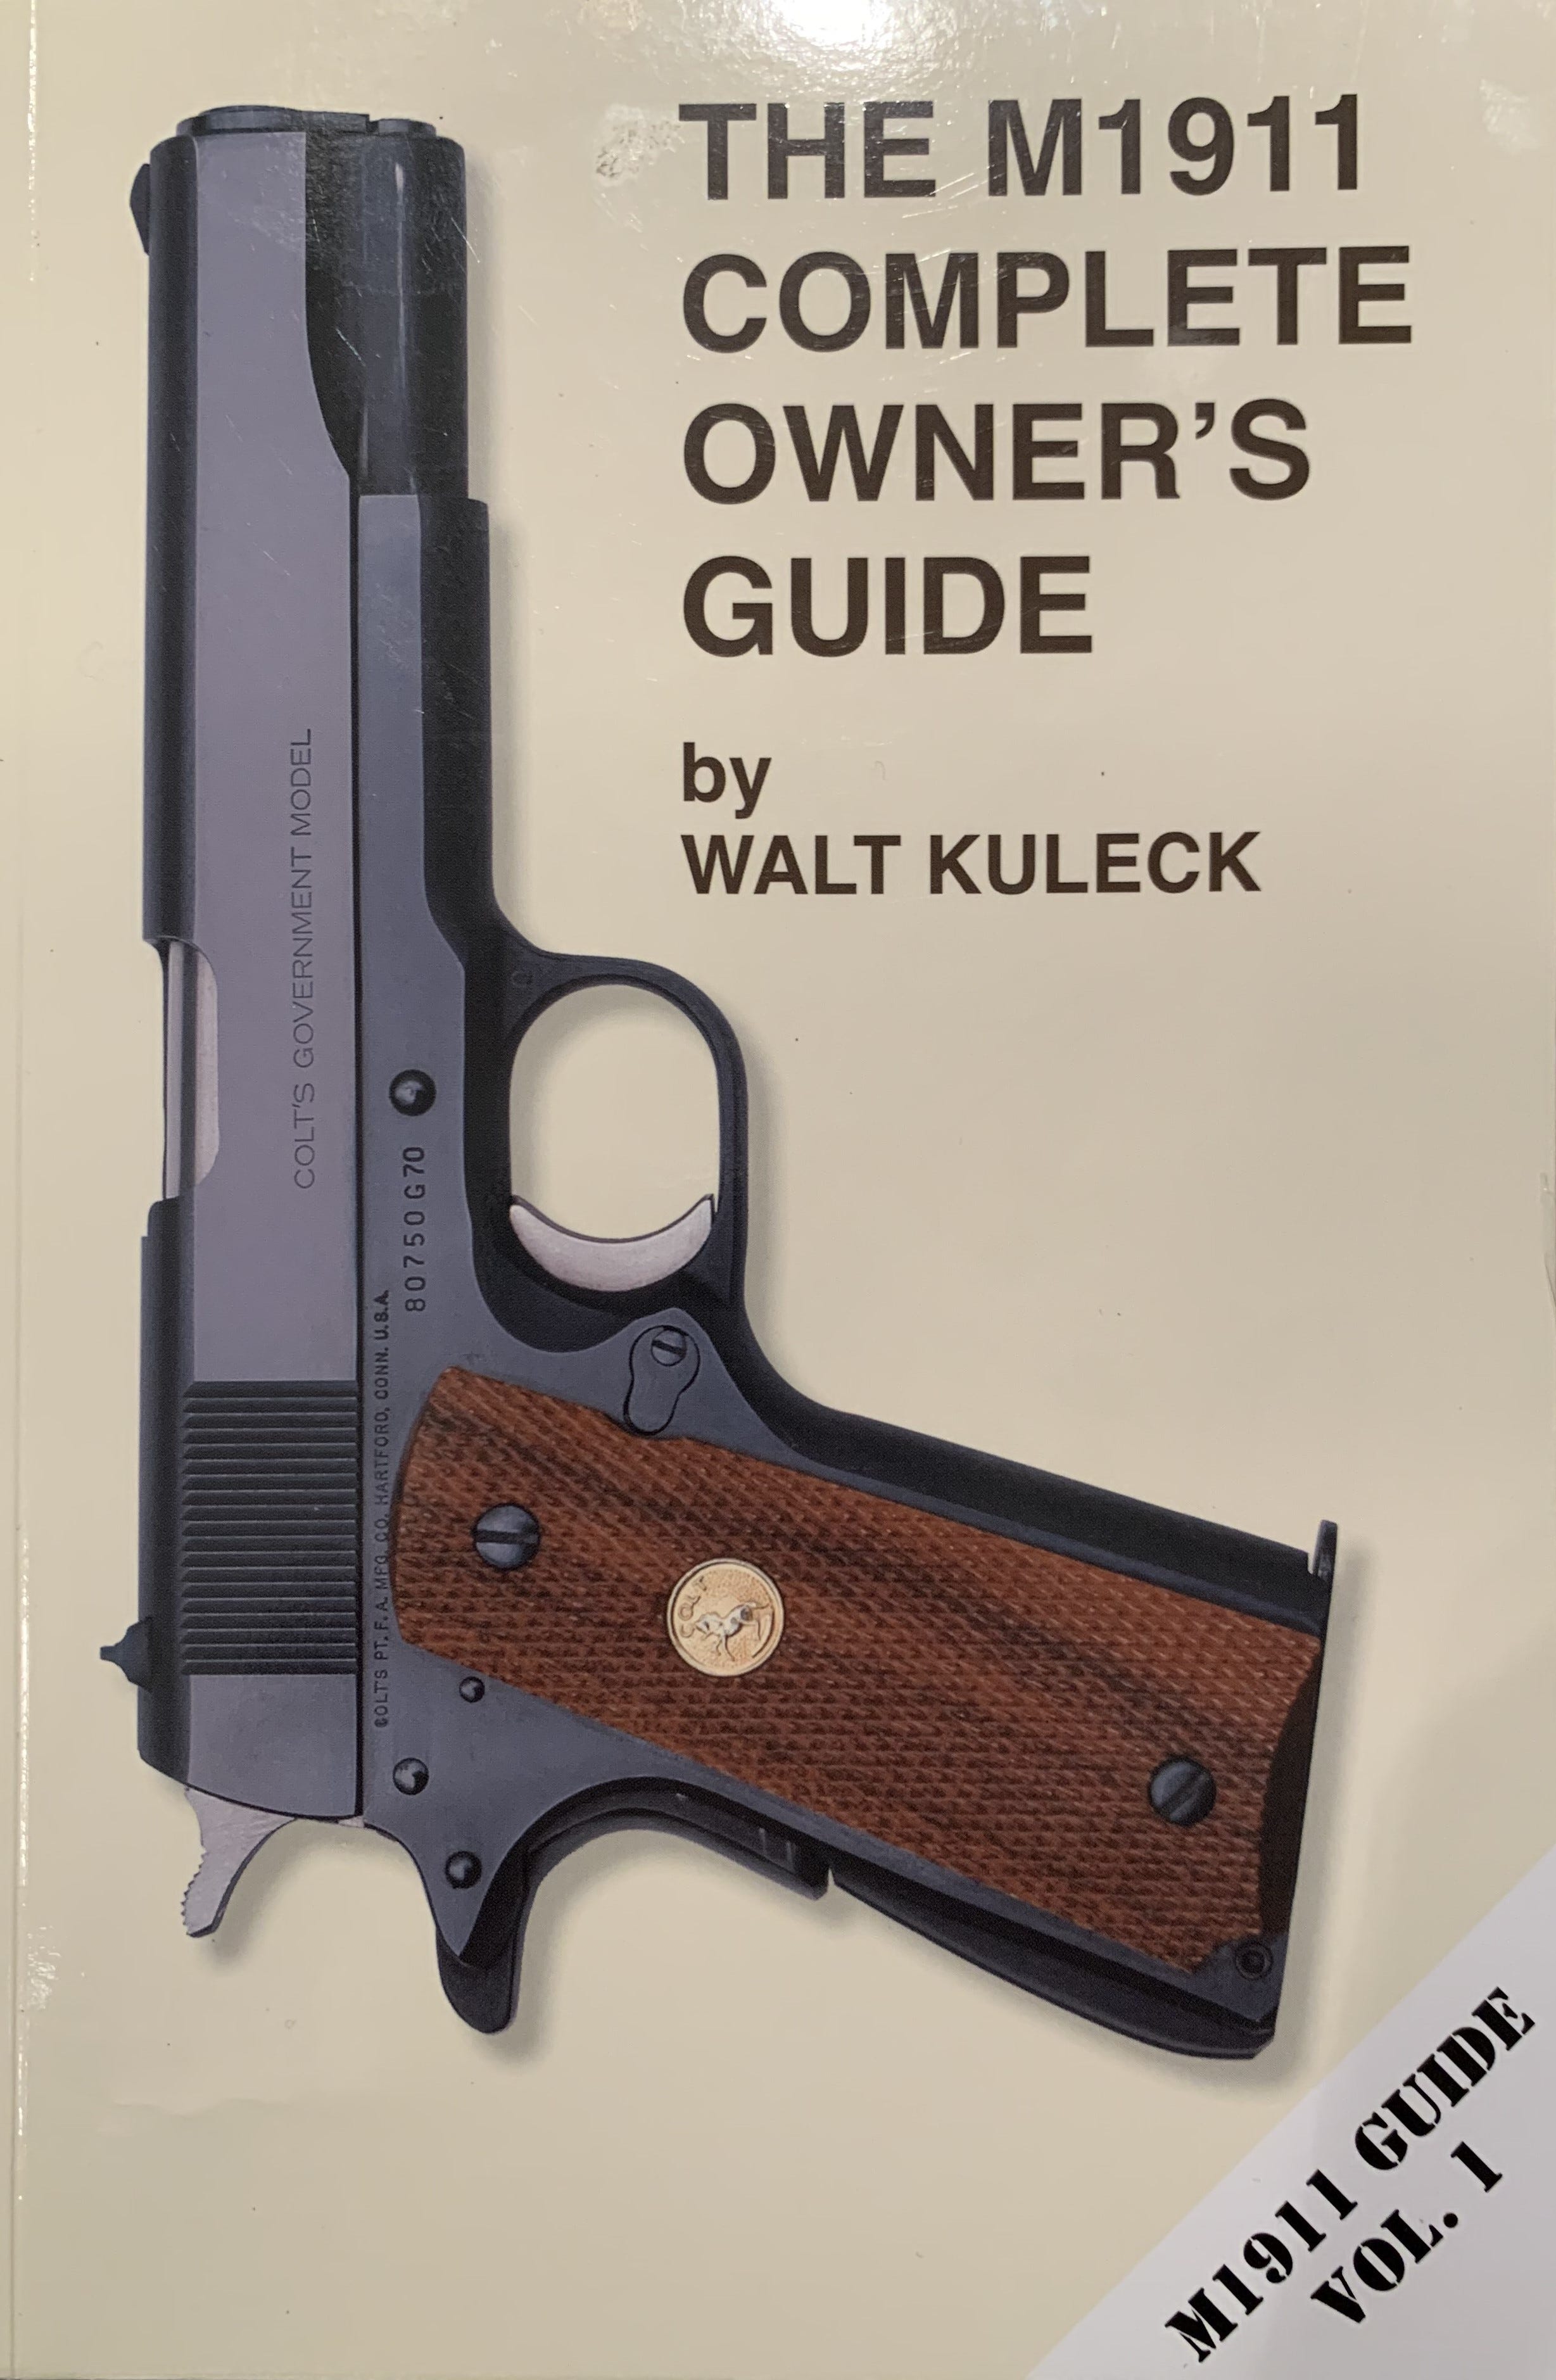
I bought a book to help. The M1911 Complete Owner’s Guide by Walt Kuleck is a definitive source for 1911 owners. The book is great. It’s worth it just for the complete history of the 1911. The disassembly and assembly instructions in the book were excellent. Each pistol (the competition pistol and the Kimber) had differences from the book but the book provided an excellent handrail for disassembly, assembly, and function/safety checking.
It is an actual iron law of weapons physics that all articles on the 1911 have to include an homage to John Browning. His design is more than one hundred years old and is the basis for 2011’s today. Just think what he might have been able to do with a CAD program and a 3-D printer.
Having finally done the detailed disassembly, I found it more do-able than I thought. What I learned may be useful to you if you decide to try this at home. I did it, it was reasonable, and it was useful.
The original 1911 design required no tools for complete disassembly. That is true today for some 1911’s but a few tools make things easier. A punch to remove the main spring housing pin (and the main spring cap pin) is handy. If the main spring housing pin has never been removed, a couple of light taps with a small hammer may be useful. A driver (screw or allen) to remove grip screws is likely required. Ditto for the magazine release. A gunsmith bench block is handy as well. None of these tools are expensive.
1911’s and 2011’s mostly remain true to John Browning’s original design but the mechanical specifics vary. The specifics mostly don’t change your disassembly and cleaning process but they can change the tools that you find useful. For example, my competition 2011 has a removable grip module while my Kimber (and most 1911’s) have a one-piece lower frame. Removing that grip module required a hex key (allen wrench) that most 1911’s won’t need.
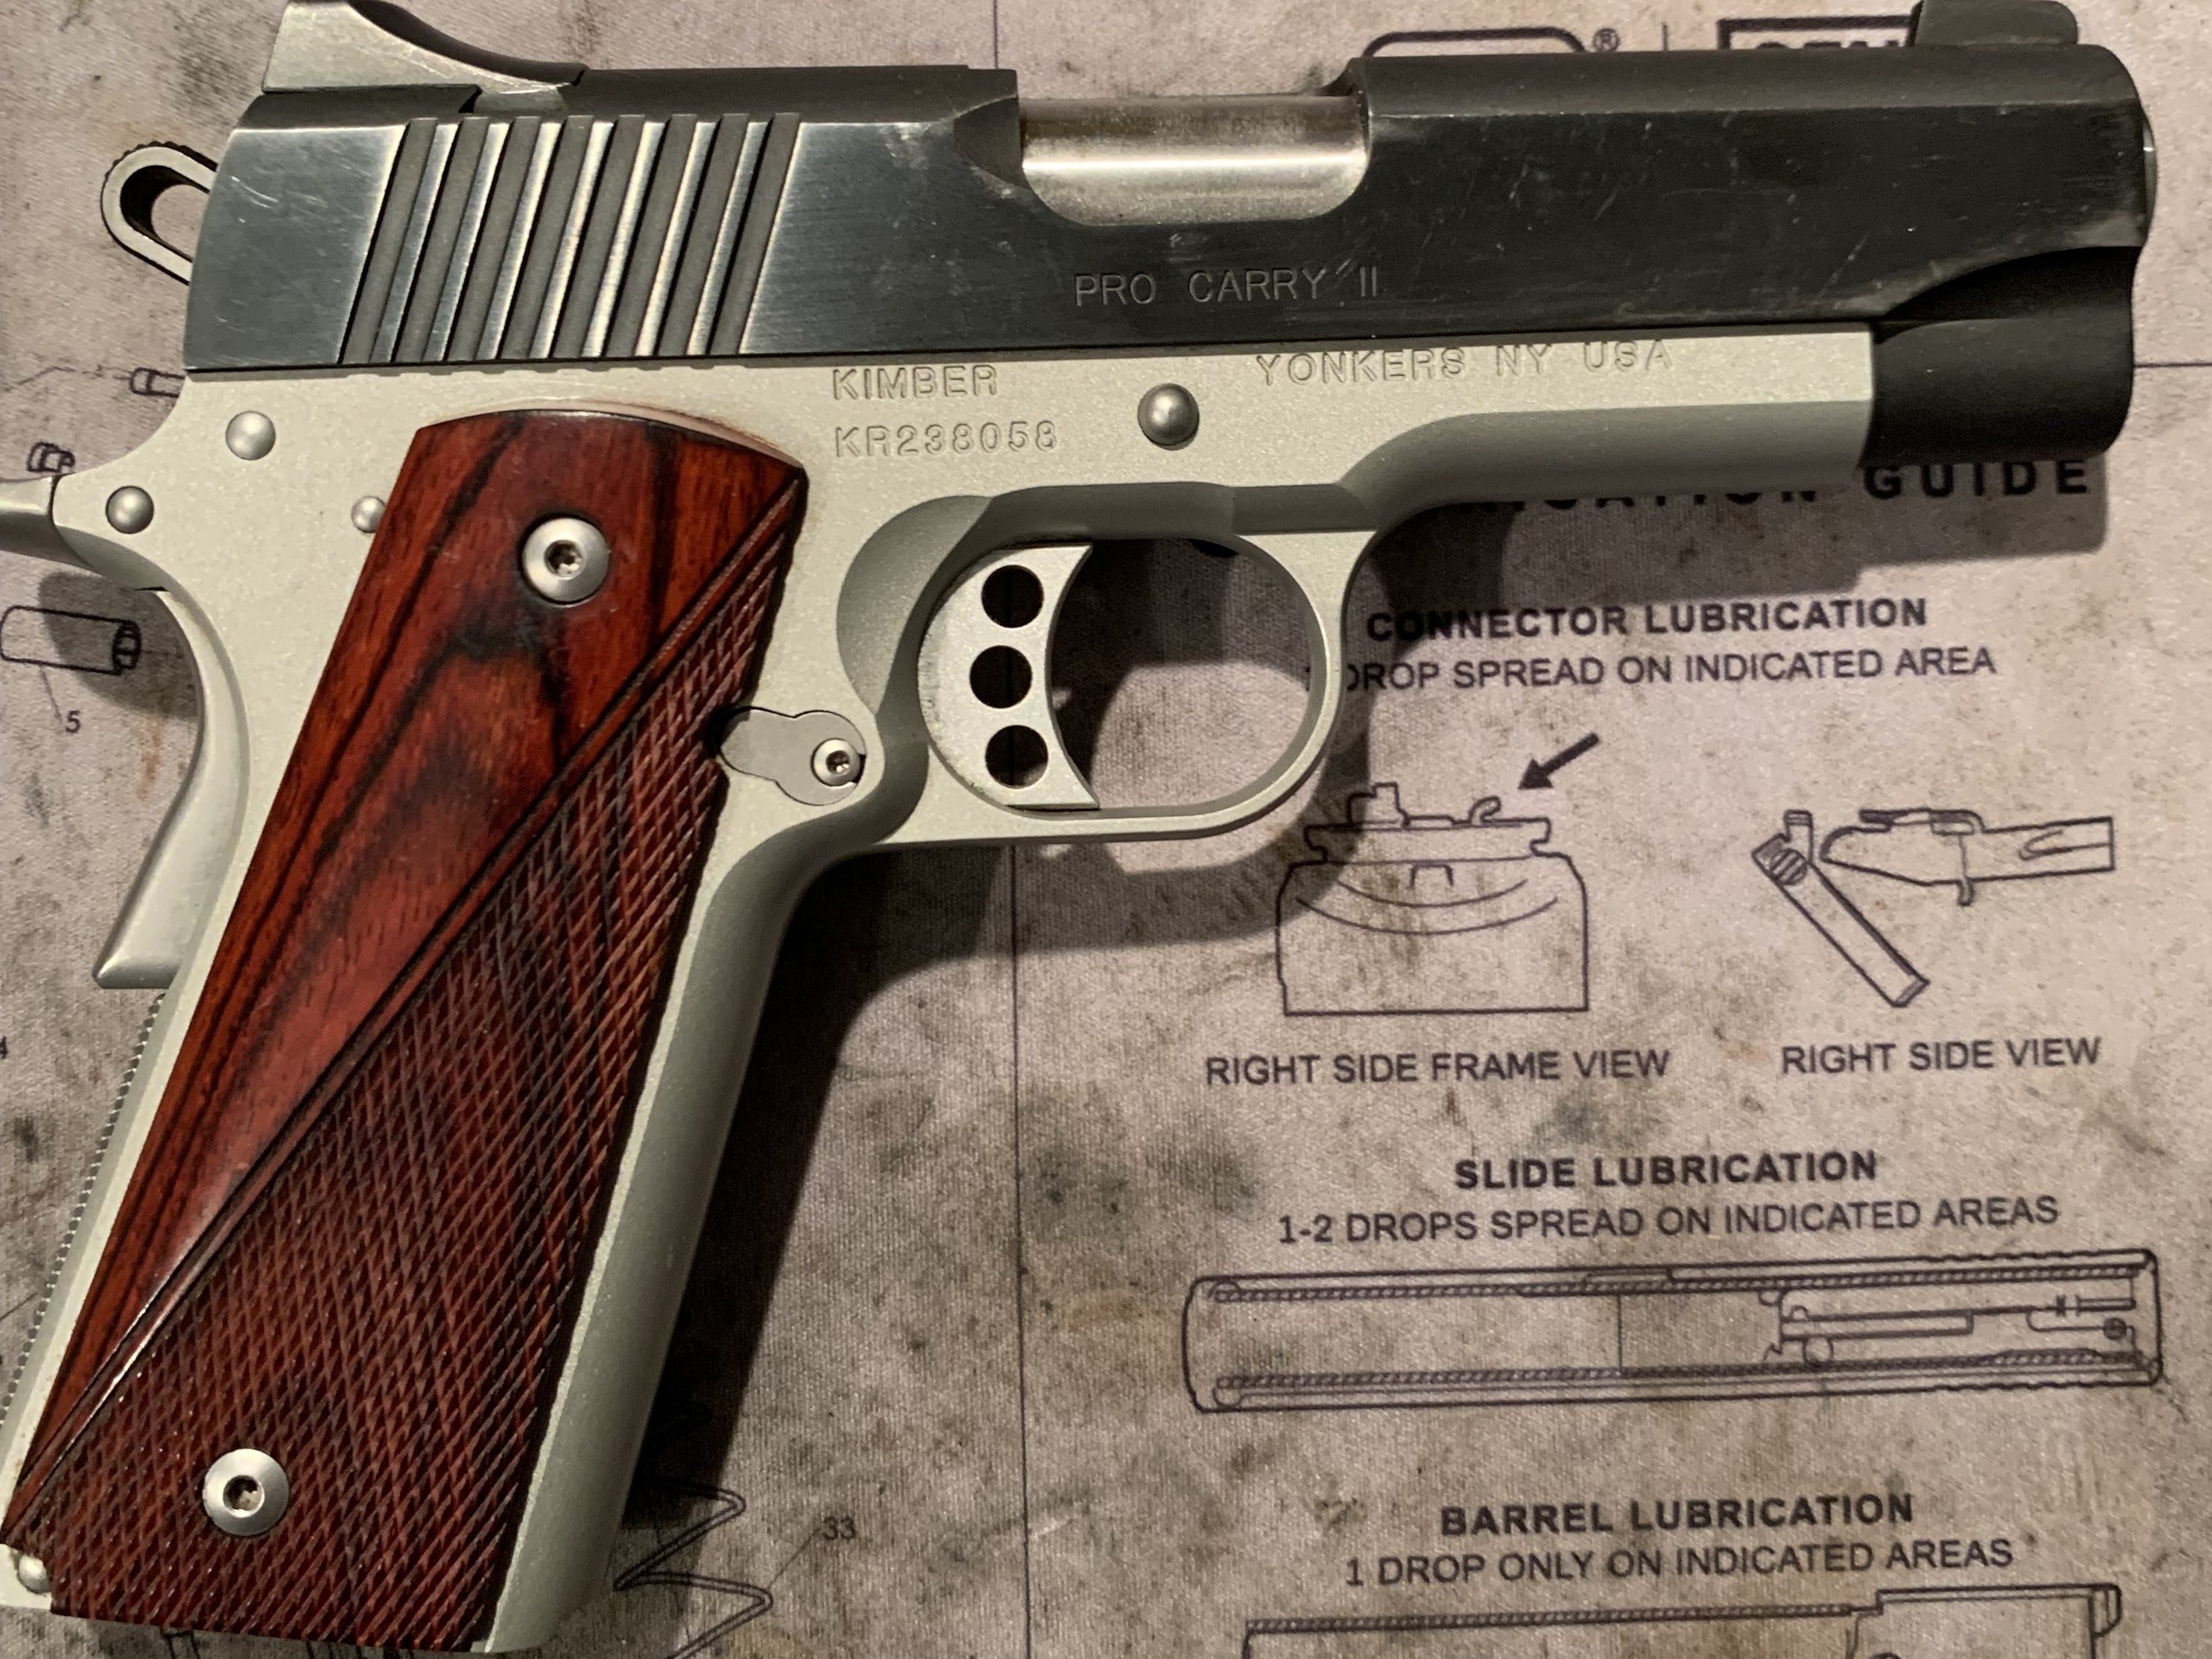
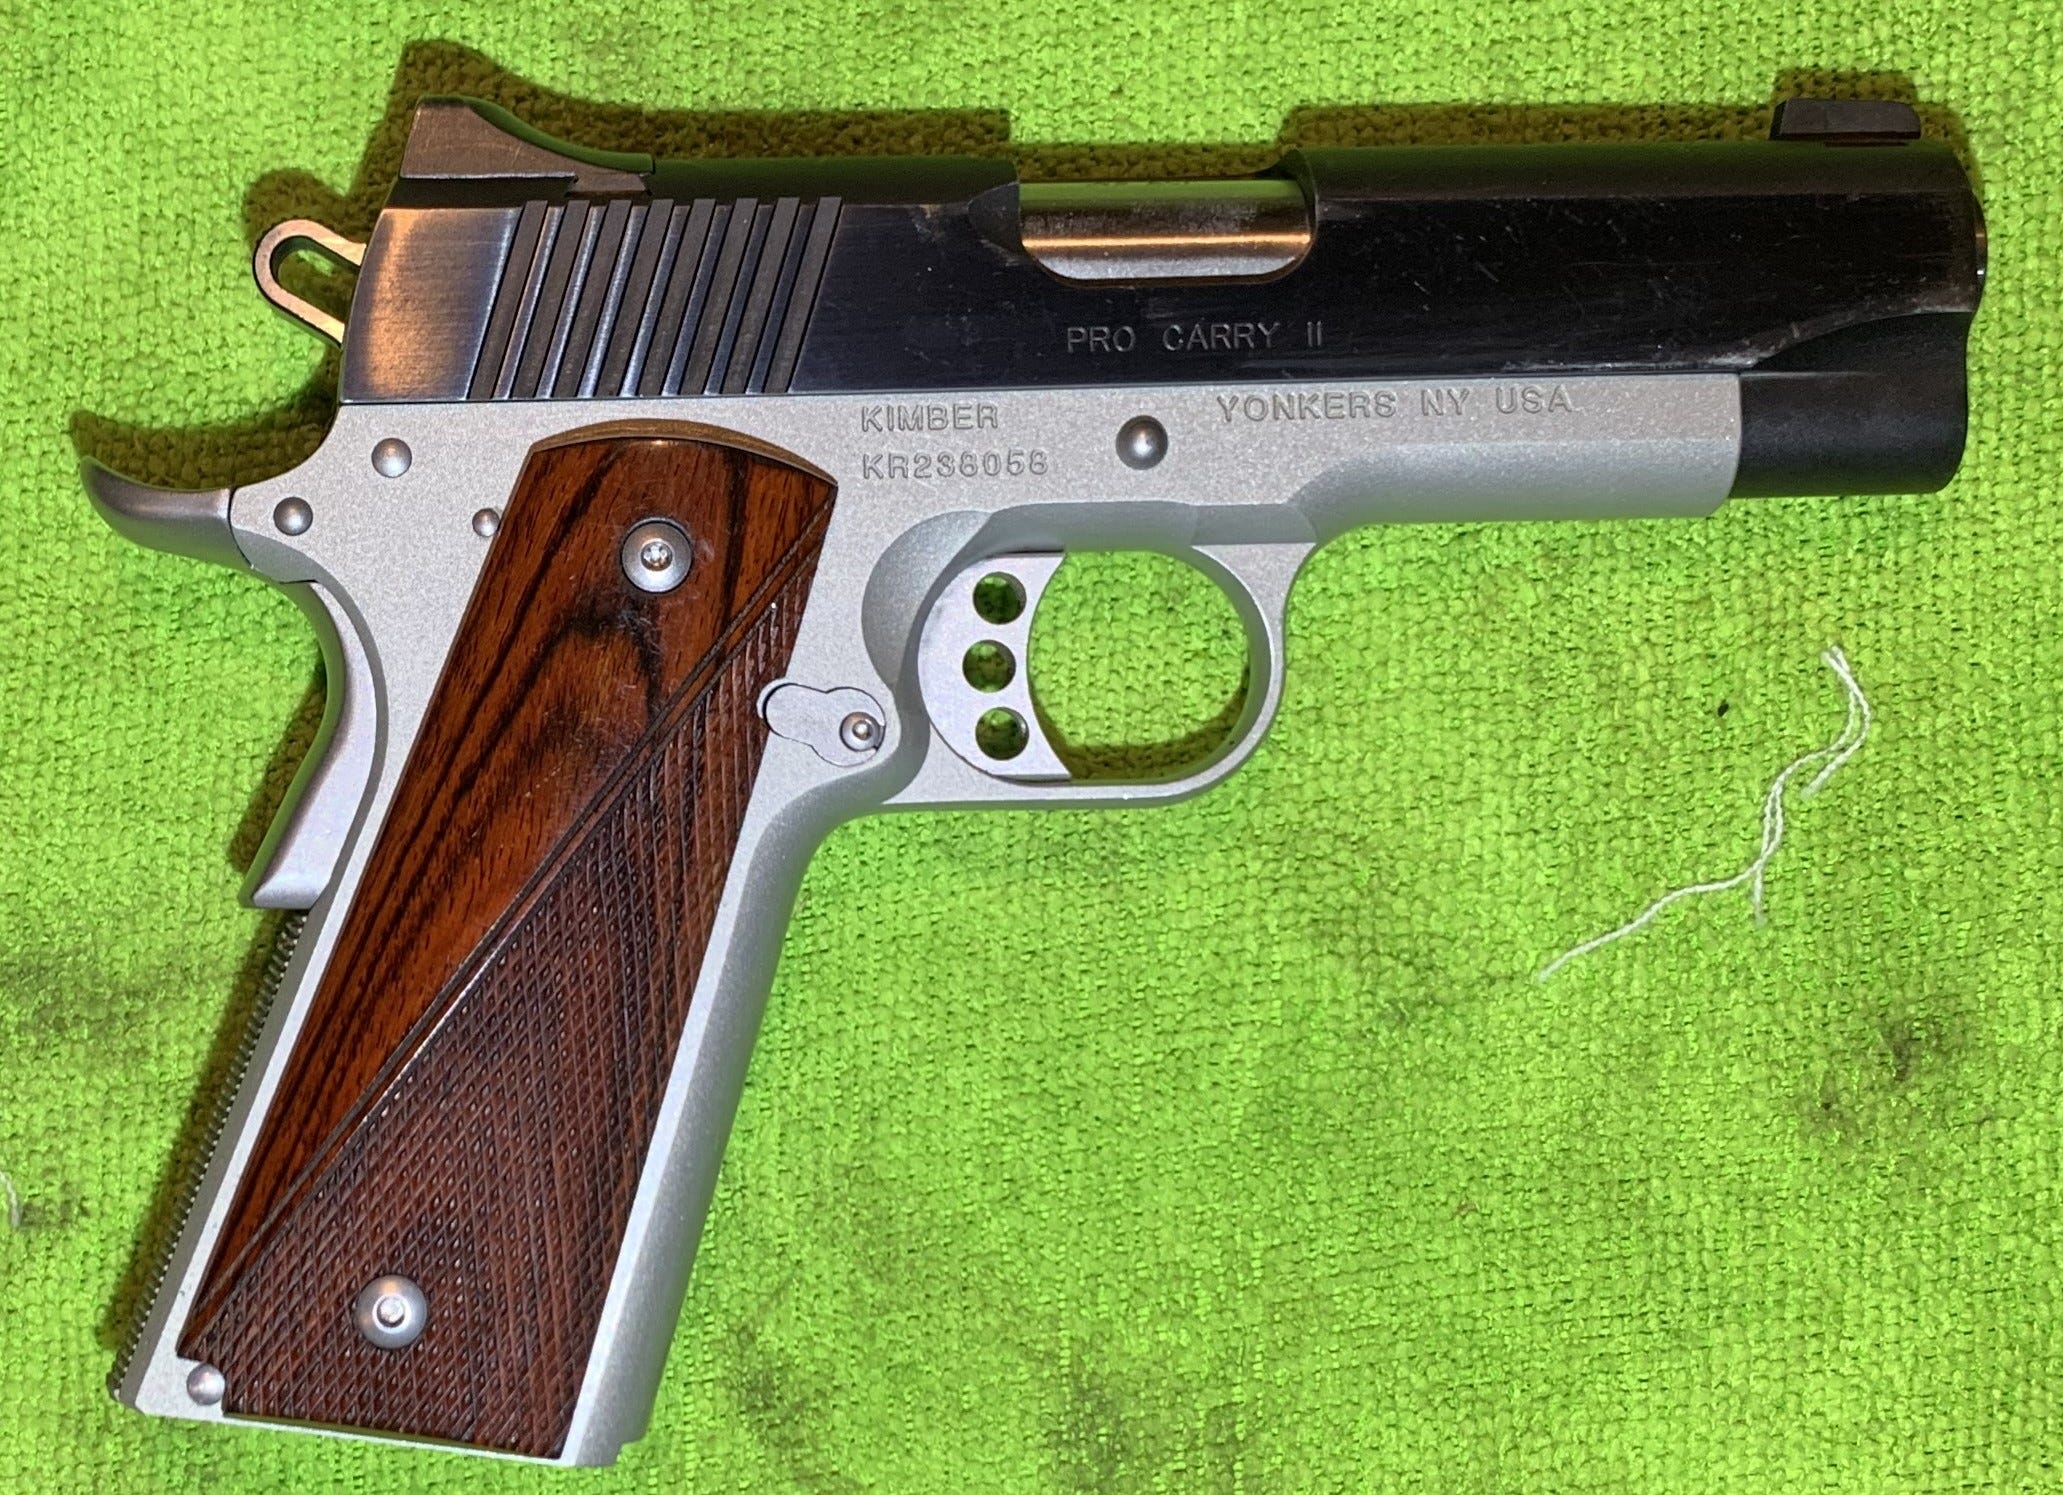
Here you see a picture of my Kimber before disassembly. It’s clear that it needs some maintenance. This was my carry gun for a long time. I used it to get started in 3-Gun competitions until I bought a pistol specifically for competition (train what you run). It shows holster wear and it shows “safe queen” neglect. It has sat in the safe for a couple of years. It needs maintenance.
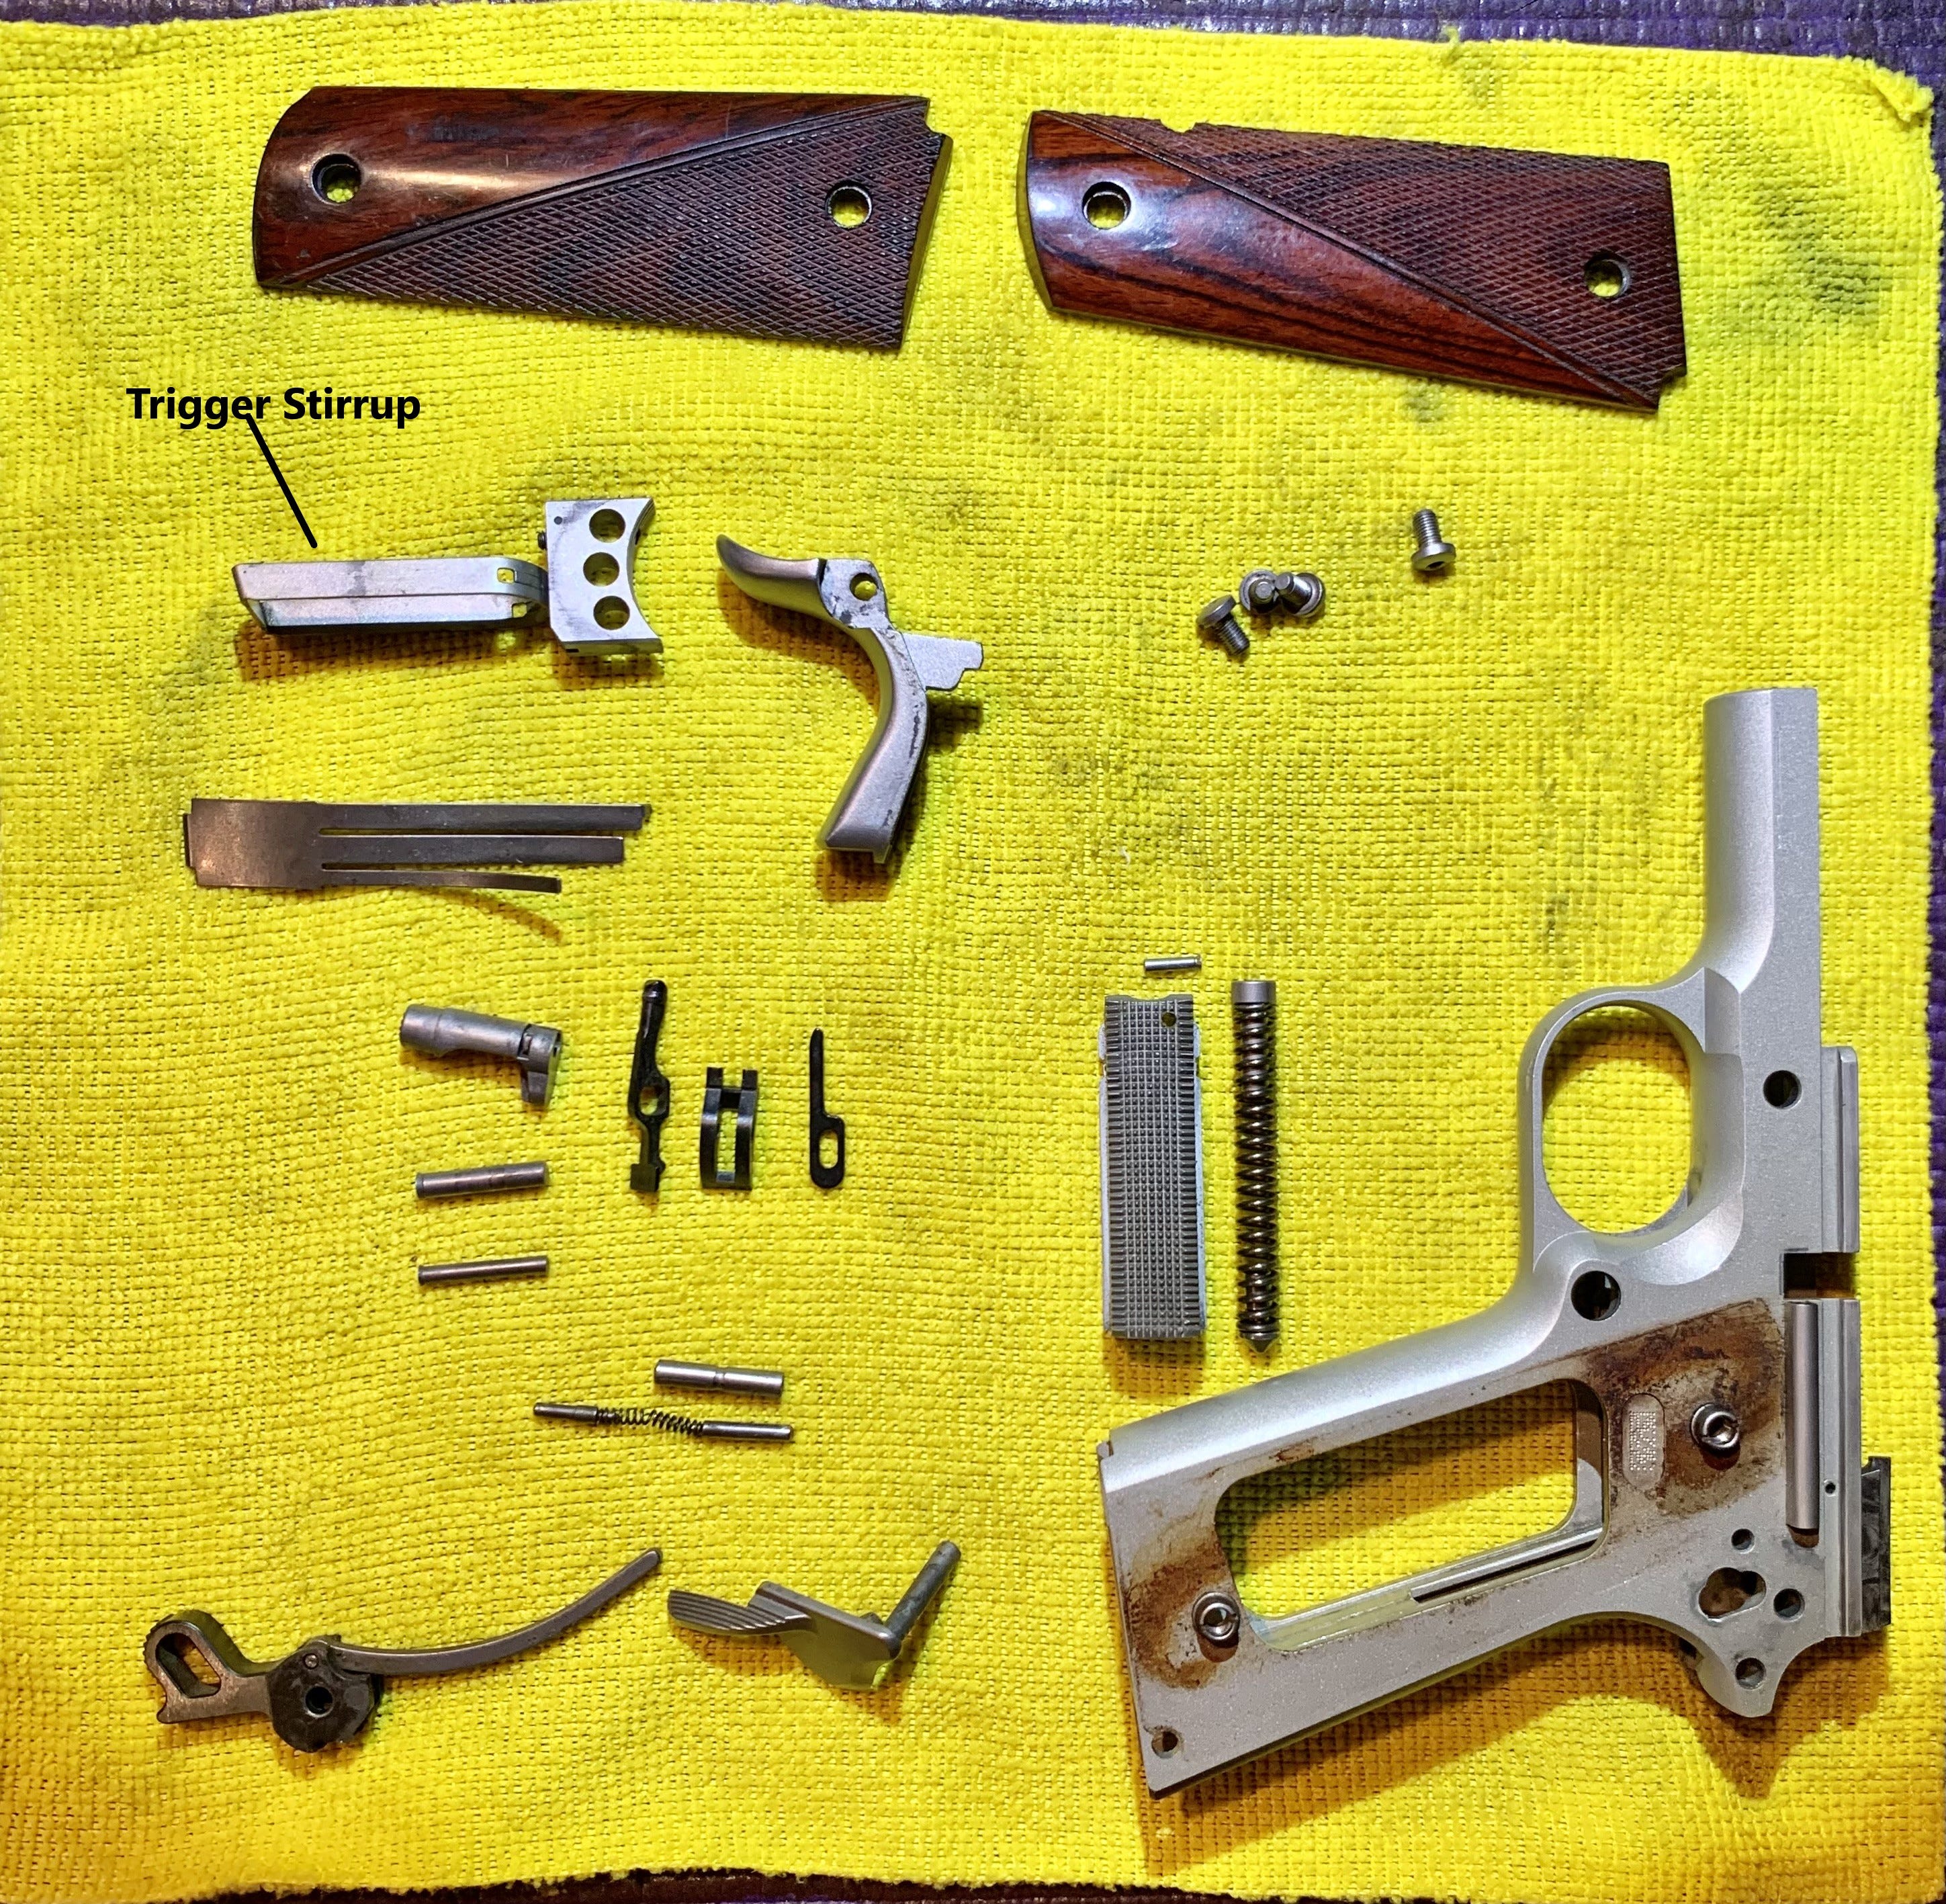
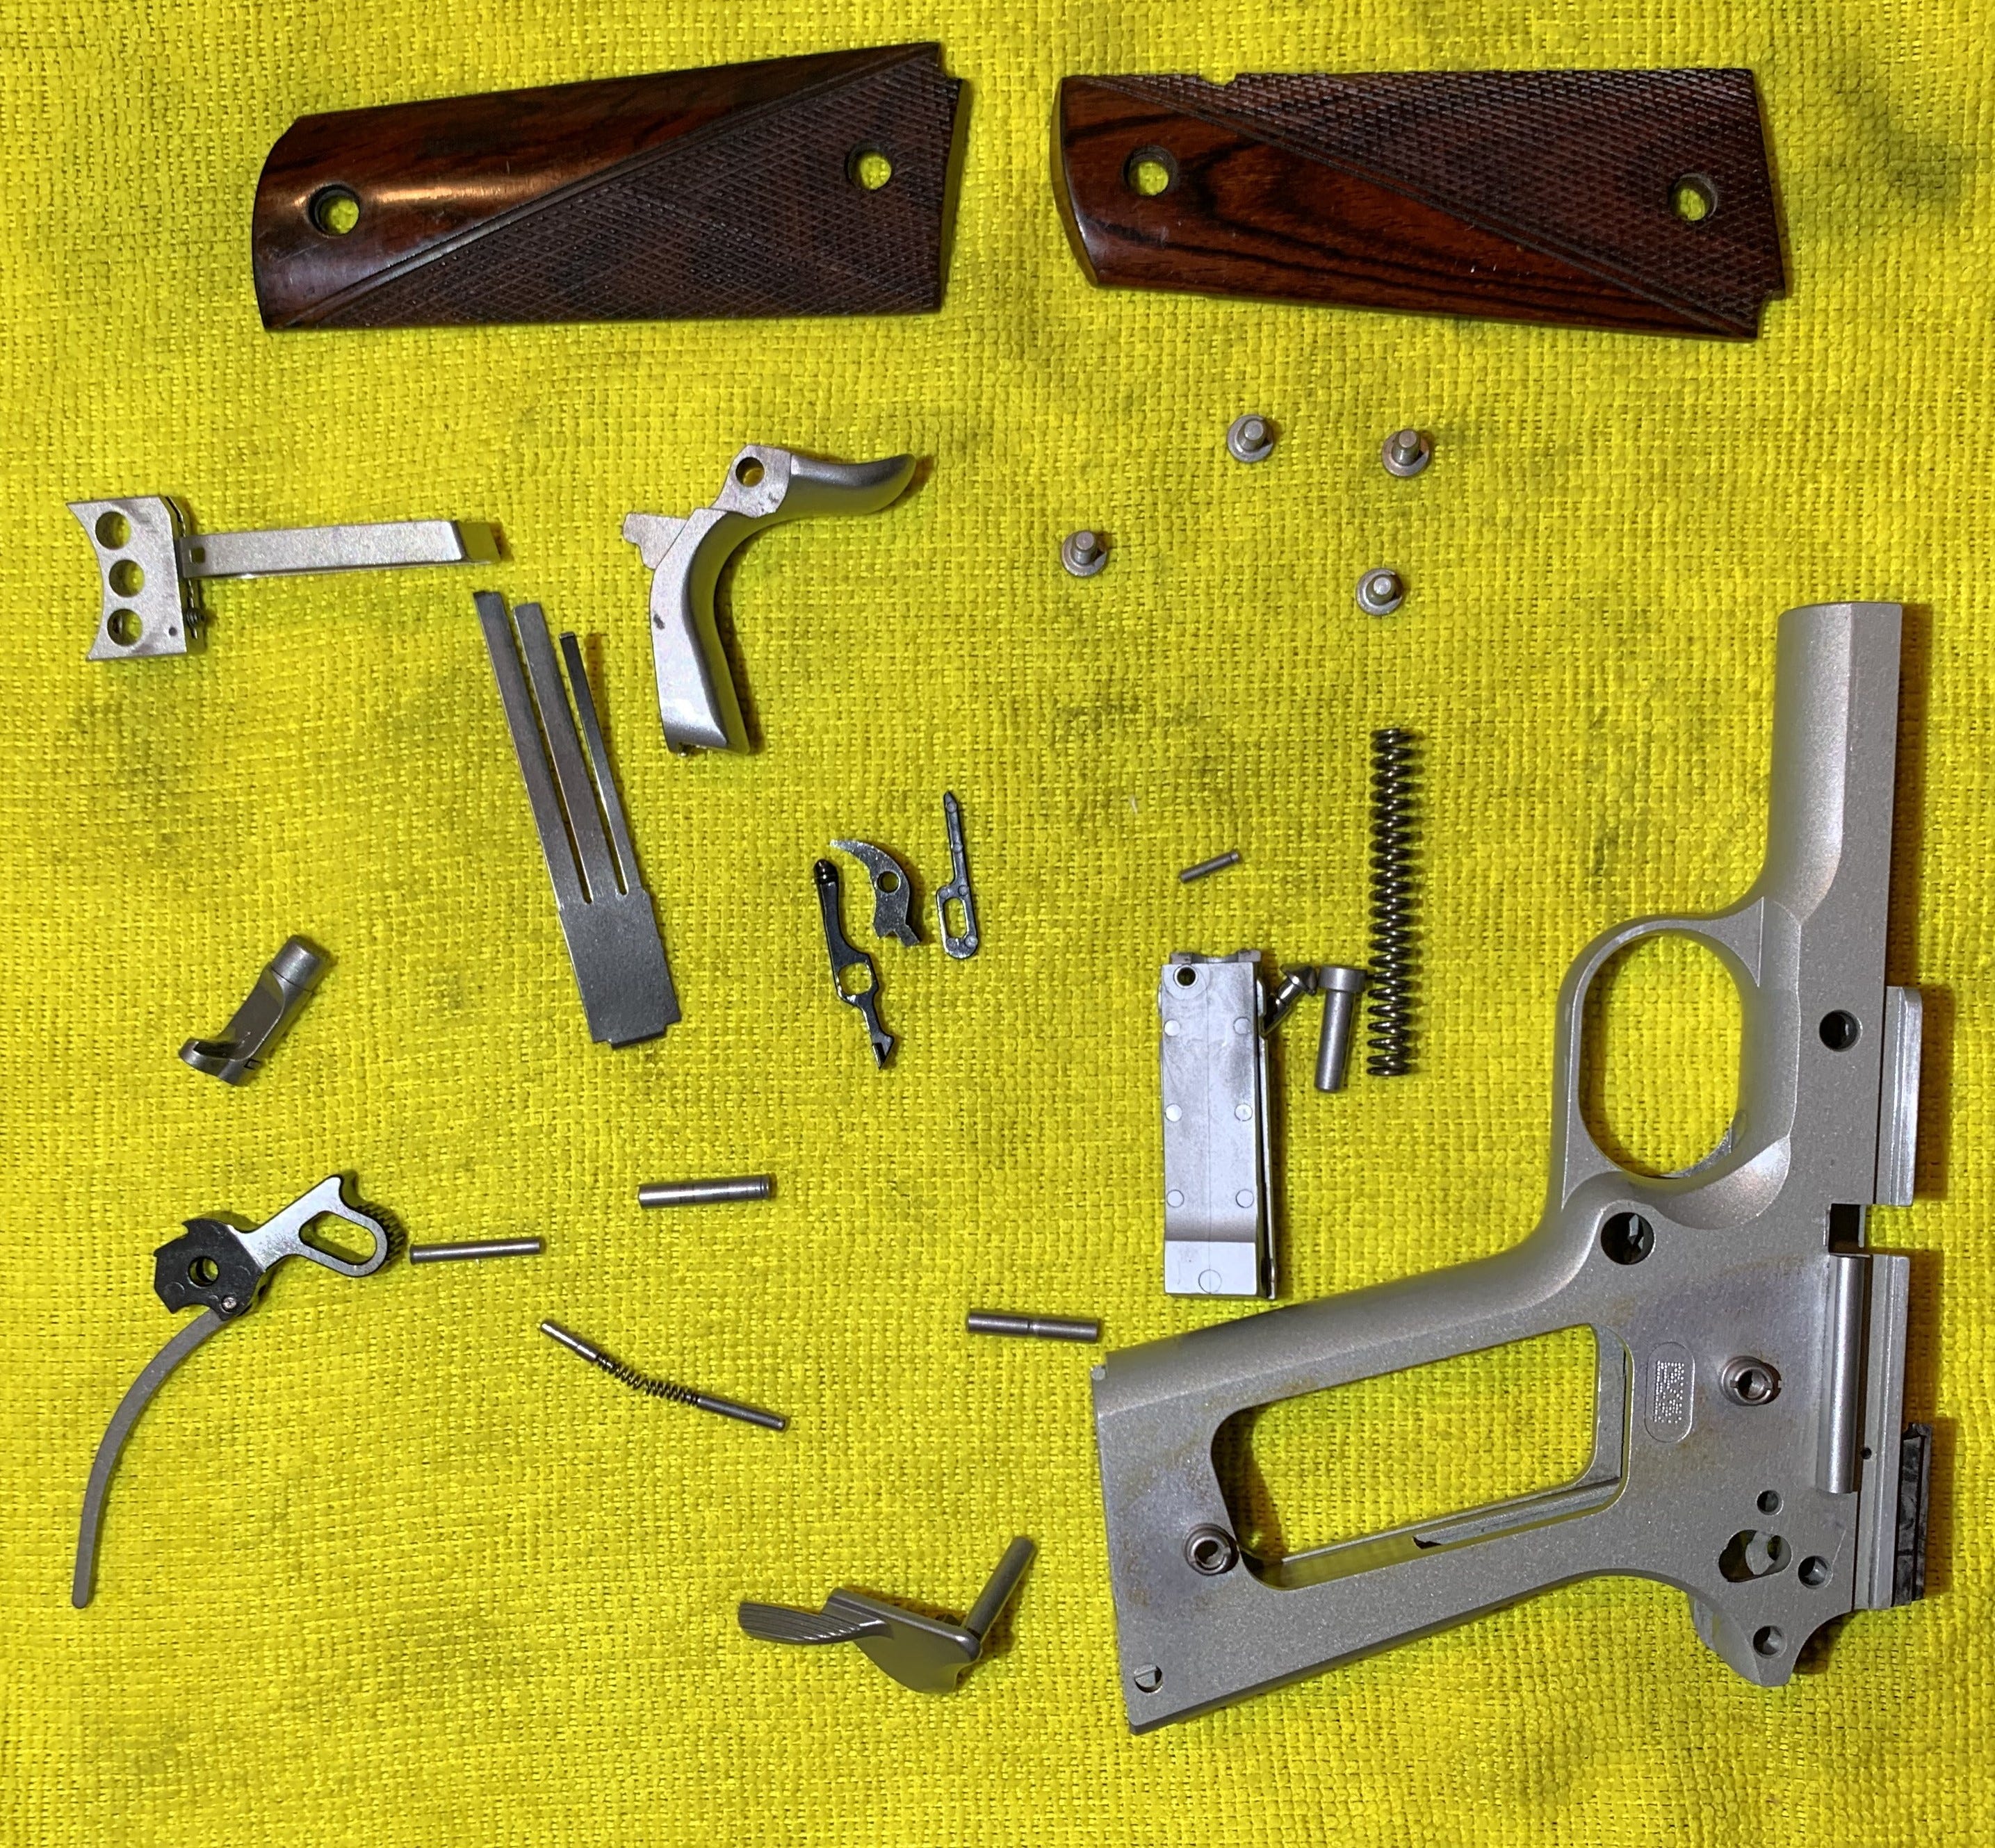
The two pictures below show the pistol disassembled with all the parts laid out prior to cleaning. One of the reasons I wanted to do a complete disassembly was to clean the trigger stirrup and the slots that the trigger stirrup moves in. Over time, these get dirty. Cleaning behind the trigger stirrup requires removing the trigger from the frame. 1911’s have great triggers. Keeping the trigger stirrup clean matters. It matters with the other parts as well.
The brown stuff around the grip screw bushings is not rust. It’s stain from the wooden grips that has deposited on the metal over the years. This is the first time the grips have been off this pistol.
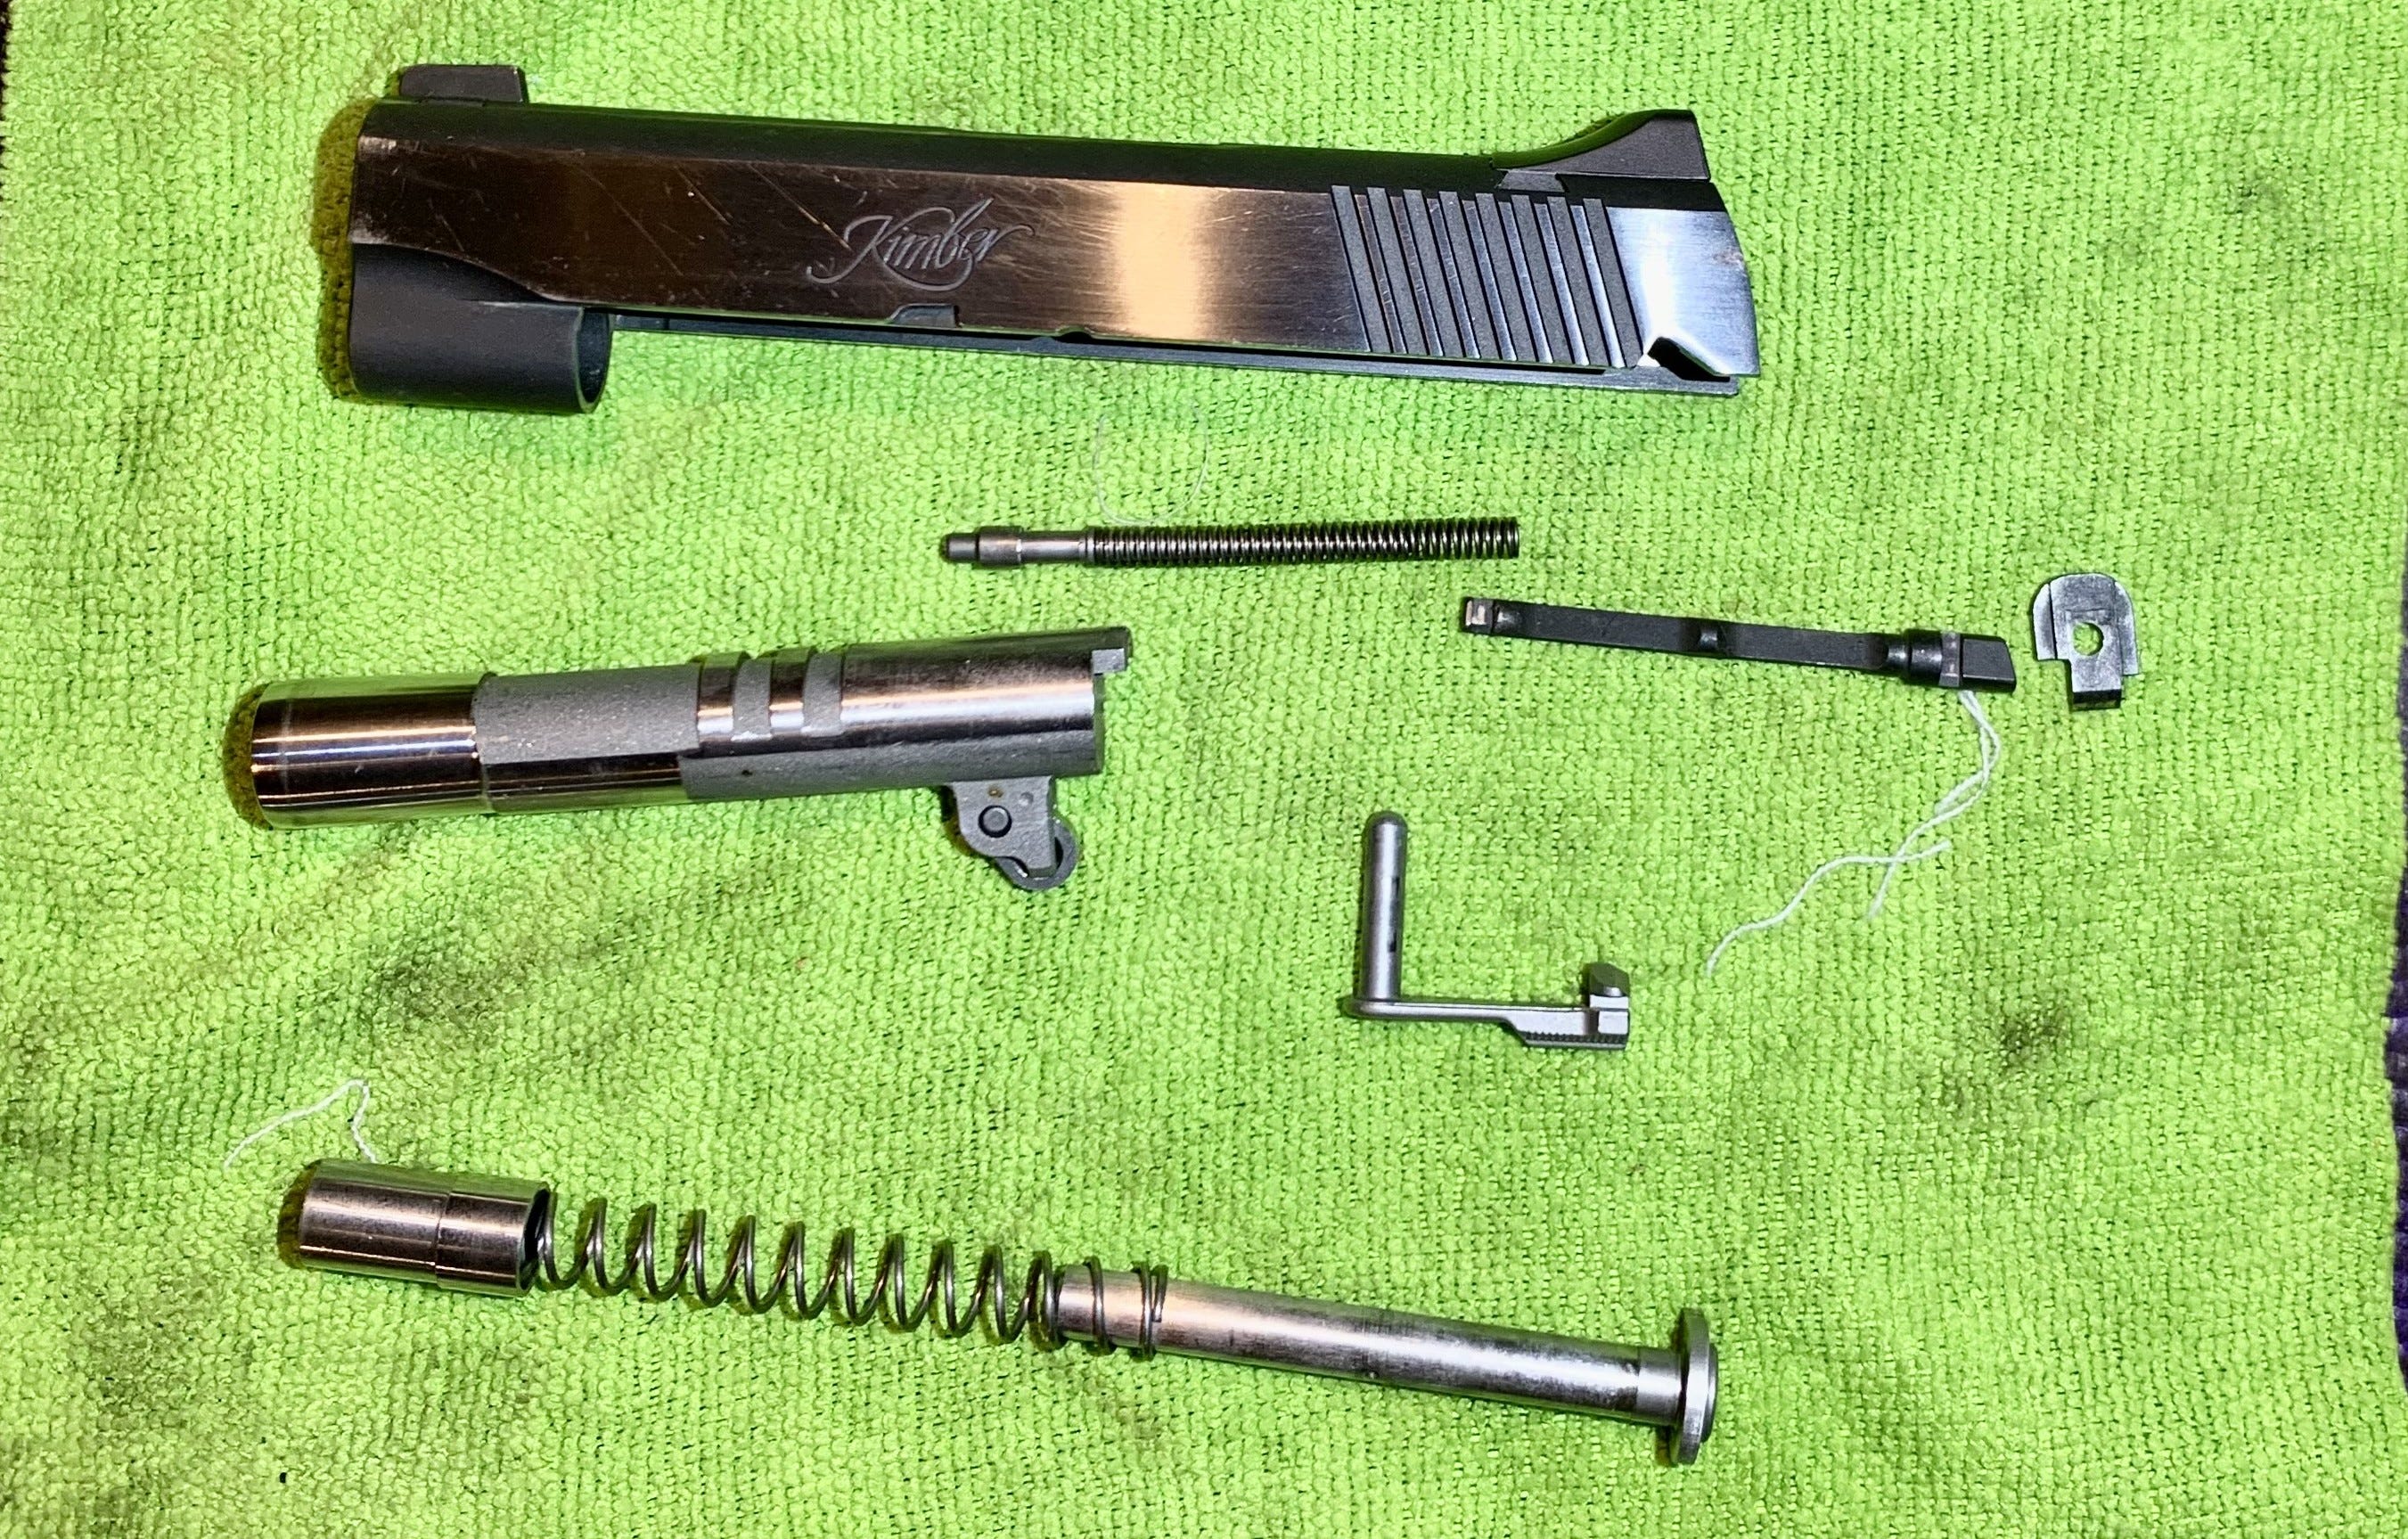
Below, you can see the top half of the pistol (the slide and barrel) disassembled for a thorough cleaning.
In my work as a match organizer for tactical shooting events, I’ve seen a fair number of dirty weapons. Clean and properly lubricated weapons work better than dirty weapons.
Here is what the bottom half looked like after all the parts have been thoroughly cleaned.
Finally, here it is after re-assembly and function/safety checks. It looks better. It will probably shoot better too.
By design, 1911’s tolerate dirty conditions. Like all weapons they function better when they are clean and properly lubricated. Field stripping will suffice for a long time with a 1911 but eventually it needs a detailed cleaning.
Doing the detailed cleaning was less challenging than I thought it might be. There were (there always are) a couple of things that were a real pain. For some reason, the sear spring on the Kimber didn’t want to go into place until it did. Several minutes of frustrating fiddling and then – click – it slipped into place. I may have heard it laughing as it did … I’m not sure.
Installing the sear and disconnector is a ticklish piece. It’s not difficult but it is ticklish.
Be careful with the grip screws. They can seize over time and you can remove a grip screw bushing with the screw. I did that on a Sig several years ago. When you reinstall the grip screws, don’t overtighten them. Snug is good enough. You can strip the grip screw bushings if you insist on “farmer tight.”
I’m going to stop short of recommending that you do a detailed disassembly on your 1911’s. Most pistol manufacturers and almost all gunsmiths will do the detailed disassembly and cleaning for you if you choose not to do it.
I enjoyed doing it. I learned a lot about the 1911 and about my 2011 competition pistol. If you decide to do it yourself, then do the research and do as much as you’re comfortable doing.
Disclaimer: I’m not a gunsmith. I’m a dedicated amateur when it comes to weapons. Exercise ordinary common sense and good safety practices at all times. Always make sure a weapon is unloaded before working on it. Keep ammunition physically separated from weapons being maintained. Safety is your responsibility. Understand and perform function and safety checks for your weapons.
Wow. What a job. I like that this post has multiple quality photographs. If I were doing this I would take a photo every time I removed a piece to reduce stress. This is quite an adventure. Thanks for sharing.